SOLUTIONS
Stay Ahead in the Quantum Race
SOLUTIONS
Stay Ahead in the Quantum Race
Magnetic refrigerators
Cryogen-free and sustainable
Our cryostats are built around closed-cycle cryocoolers and use Adiabatic Demagnetization Refrigeration (ADR) and continuous Adiabatic Demagnetization Refrigeration (cADR) to reach the full temperature range from room temperature. They offer continuous operation at 300 mK and ‘one-shot’ cooling down to 100 mK.
As they don’t use cryogens in the cooling process, our devices are easy-to-use and sustainable. ADR upgrades and various accessories such as free-beam optical access and DC & RF wiring options can be included to configure the cryostat to customer-specific requirements.
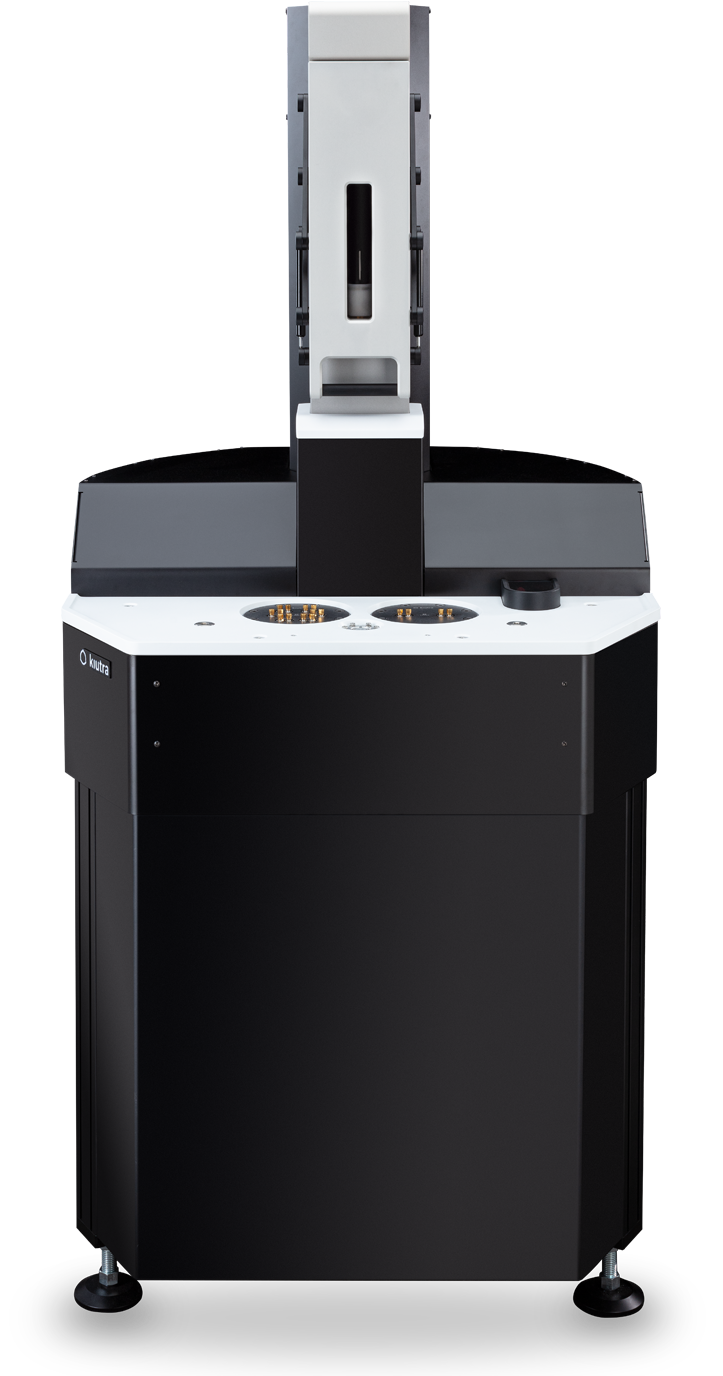
L-Type Rapid
Super-fast testing and characterization of quantum devices
100 mK - 300 K
< 3 hours
300 mK
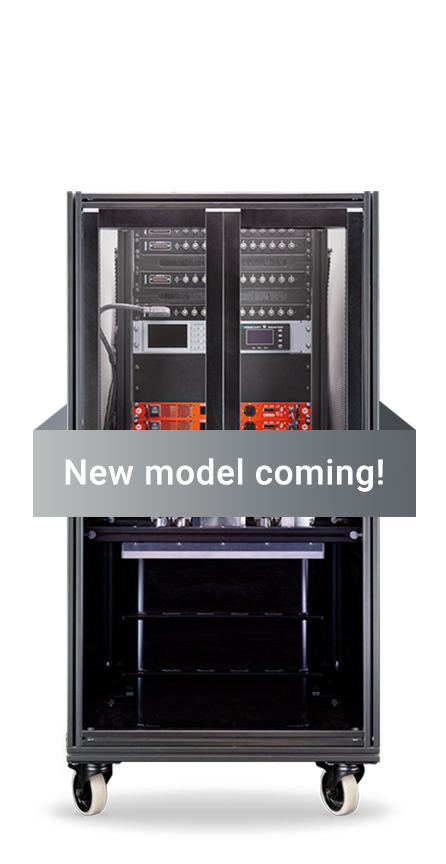
S-Type Optical
Rack-integrated sub-Kelvin cryostat with free-beam access
300mK
ø > 20 mm
3 T || optical axis
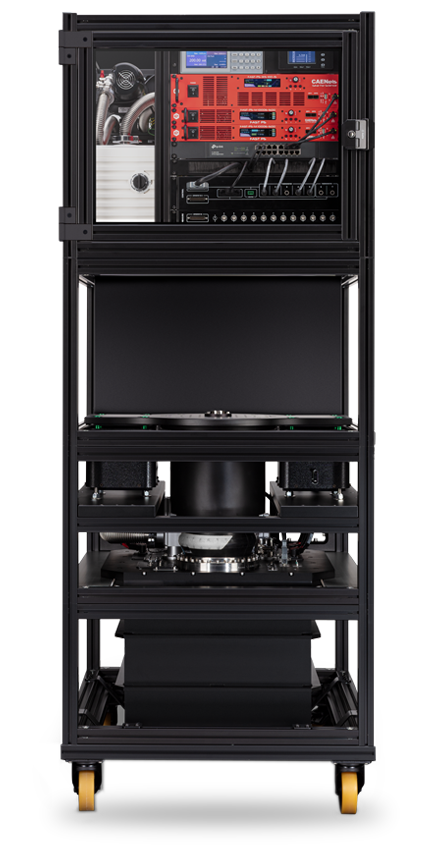
S-Type Essential
Versatile, rack-mountable platform for the continuous cooling of quantum devices
down to 100 mK
Ø > 140 mm
300 mK
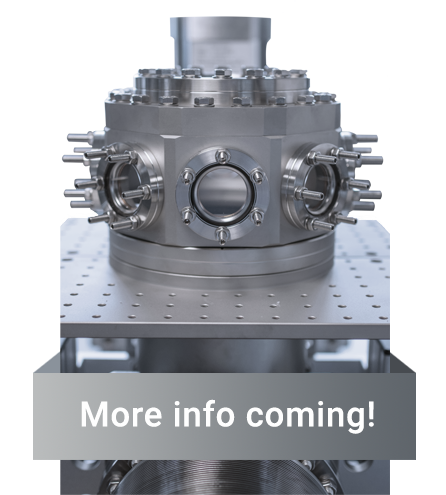
T-Type Optical
Optical Kelvin temperature cryostat optimized for trapped-ion chips
Increase the lifetime of trapped ions through XHV and cryogenic temperatures.
Ensure coherent manipulation of ions through ultra-low vibrations.
Get full ion control through multidirectional free-beam optical access.
Maximize compatibility with a compact system that mounts to your optical table, accommodating most trap designs.
Service & cloud solutions
Streamlining processes, increasing productivity
Cryogenics as a Service
The fastest, simplest and most economical way to get your low-temperature characterization measurements
Get results faster: receive data you can use straight away, bridge gaps in your facilities and trial measurements easily.
Reduce your costs: temporarily add capacity and only pay for the measurements you need.
Hire in low-temperature expertise, support and advice to get you the results you need.
Using our equipment, which runs on certified green electricity, makes it the more sustainable option.

CryoCloud®
Discover a smarter way of working with kiutra’s new CryoCloud® platform, giving you the most modern and integrated digital user experience around cryogenic products and services.